Welcome back to my Dark Souls 3 Walkthrough series. So, last time we had just defeated Vordt of the Boreal Valley and gotten a lift to the Undead Settlement by some friendly vampire-bat looking creatures. Before I started the video, I traveled back to the firelink shrine and got some extra items to help me on my journey. If you didn't know, you can actually get to the top level of the firelink shrine without buying the tower key from the handmaiden for twenty thousand souls. Go to the tower, and beside the roof next to the ladder, there is a somewhat curved looking tree. If you aim properly, you can actually do a running jump off the tree, right onto the roof, bypassing the tower altogether. This allows you to get the silver serpent ring and an extra Estus chug much earlier in the game, and it also saves you some valuable souls. After getting that out of the way, I started my descent into the Undead Settlement.
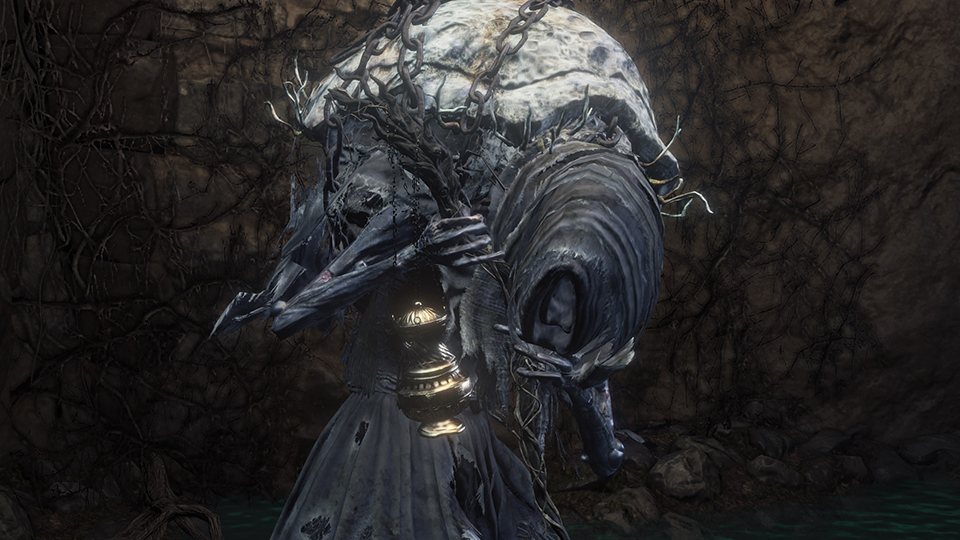
Before actually going through the gate to the first bonfire, make sure to dispatch of all the dogs and hollows, and go the opposite way of the gate towards a plethora of hunched over looking creatures (the ones from the opening cutscene). Most of them will be dead, but one of them will talk to you if you get close enough. Talk to him, and he will teleport to the Firelink shrine where you can find him later. Yoel of Londor is a pretty important NPC in the game, as you can actually get free levels from him. As long as you don't kill the Abyss Watchers first, you can select "Draw Out True Strength" from his dialogue. You can do this a total of 5 times, and each time you will get a free level. After the 5th time, he will die and Yuria of Londor will appear. Yoel of Londor also sells an assortment of spells if you're interested. Make sure to do this as soon as possible.

Back to my journey. After sending Yoel of Londor, I made my way to the first bonfire and continued the path towards The Curse Rotted Greatwood. Most of the enemies on the way to the dilapidated bridge bonfire are relatively easy to deal with. The little midget guys are probably the most annoying because they hit hard and can gang up on you. Make sure to have a shield out and block them if you're in a tight situation. Just like the dogs, they get staggered when you block them and are easily struck down afterward. After getting the Estus shard by the burning tree, I continued to take the most direct path to the boss. Alternatively, you can actually join a pretty cool covenant in this area called the Mound Makers. I've done this in previous playthroughs so I wasn't necessarily interested, plus you can do it closer to the end of the game anyway. If you do wish to join the Mound Makers as early as possible, you need to follow this guide before defeating The Curse Rotted Greatwood.
So, sadly, I did suffer a rather embarrassing death by the hands of some miniature warriors. They definitely overwhelmed me and I panicked, which is probably one of the most common reasons for death in Dark Souls. I definitely could have avoided that needless death if I would have calmed down, and blocked with my shield. Also, avoid touching the limbs of the cage monsters, and they won't activate. The hollow with the red glowing eyes is easily dealt with via a quick backstab. After that, it's pretty much smooth sailing until the dilapidated bridge bonfire. There are several villager hollows on the way there, but nothing too crazy. You can easily just run through, past the underpass and run straight to the bonfire if you're in a rush. Right above the bonfire, there's a crystal lizard if you're interested. When you reach the bonfire, an NPC invader will summon. He's kind of annoying, but he doesn't hit too hard and you can avoid losing progress by activating the bonfire before starting the fight. The NPC is actually part of the Mound Makers covenant that you can join in the Undead Settlement. You can tell by his distinct purple glow, oh, and the fact that he has Mound Makers above his name. After defeating the NPC, I recommend going back to the firelink shrine, using whatever souls you have to level up and upgrade your Estus before the boss fight.

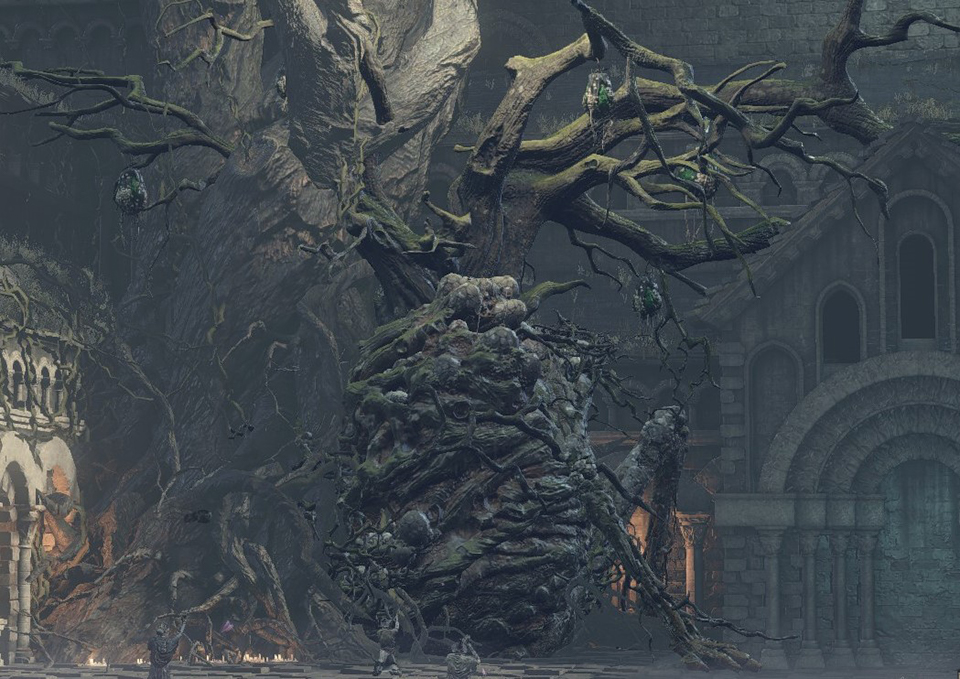
From the dilapidated bridge, I made my way to the boss room, past area with the giant arrows flying at you, after grabbing as many items as I could. The safest way to get through here is to let the giant archer take care of all the hollows before proceeding. You can also easily run through all the way to the boss room. Once I entered the boss room, I took out as many hollows as I could right from the beginning. The goal here is to pop one of the Curse Rotted Greatwoods puss sacks which will send you to the final area for the fight, without any hollows. Once you fall down, it's basically just a game of playing it safe. Since I was low on Estus, I decided to use the safest strategy possible. If you distance yourself from the Curse Rotted Greatwood, he will eventually do a body slam attack. It's very easily dodgeable and gives you a huge window to strike him. You can rinse and repeat this strategy all the way through the fight if you wish. It's the safest and easiest way to beat it. I definitely was pretty rusty with this boss and was forced to use the safe strategy because I ran out of Estus early on. Anyway, this boss is not much of a challenge either way. After defeating the boss used the bonfire to return to the firelink shrine and spend some souls. That'll do it for this walkthrough. I'll catch you in the next one!

 by
by 


Comments
Comment on this Article in our ForumMore GamerzUnite News
Are We Being Controlled in a PC Game by Aliens?
New UFO Film proposes we might!
Explore an Eerie Archipelago in Dredge
A fishing adventure gone bad...
Metasport Arena and Burrst Open the NIL Door for College and High School Gamers
The future looks bright...
Automation Goes Too Far in The Last Worker
A bleak future for anyone looking for a job...
Alien Infestation takes over in From Space
Liberate the Earth in this fun new action-shooter...
The Ascent Cyber Heist DLC takes Cyberpunk Heists to a New Level
New Missions, Side Quests and more...